
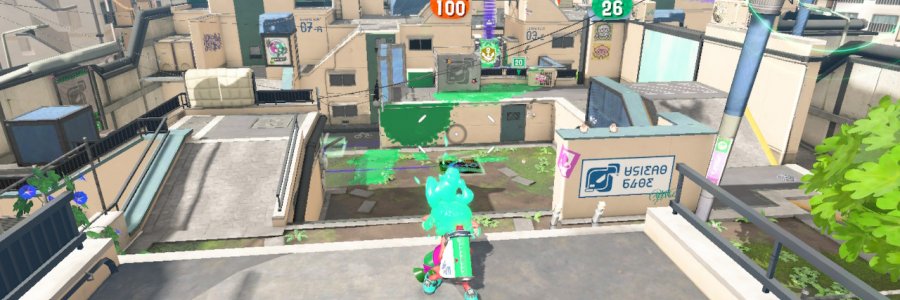
Since Splatoon 2 modding became possible, I always wanted to convert Splatoon 1 maps to Splatoon 2. Now that Splatoon 2 content updates are ending, it is a perfect time to convert the remaining maps that Nintendo chose to not include in Splatoon 2. The release of a beta version of Switch Toolbox by KillzXGaming was also a big coincidence. I did not expect this to happen until next year. This resulted in in my conversion of Flounder Heights.
How did you convert the map model?
In Splatoon 2, models are contained in BFRES (Binary Cafe Resource) files, which contain model data, textures, animations, and more. This format was actually carried over from the Wii U (codenamed “Cafe”, which is why the BFRES acronym includes “Cafe”), however, the BFRES format did undergo drastic changes in the transition to the Switch. Because of this, we could not use existing BFRES tools for the Wii U. I had to wait for someone to release a BFRES editor for the Switch.
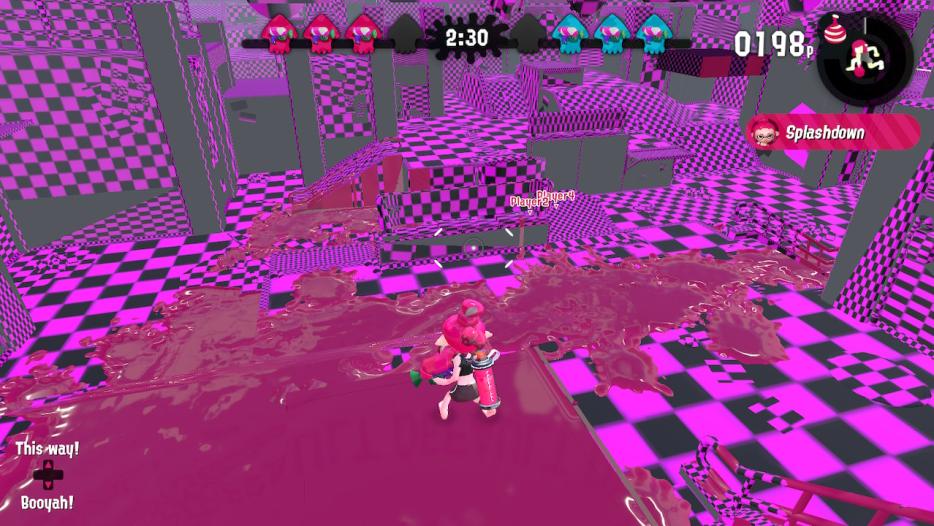
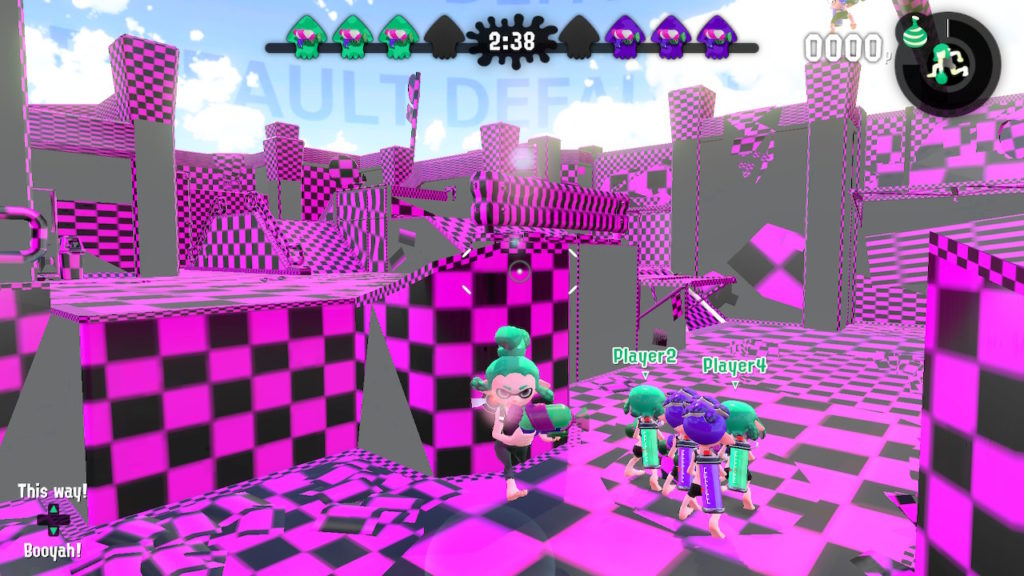
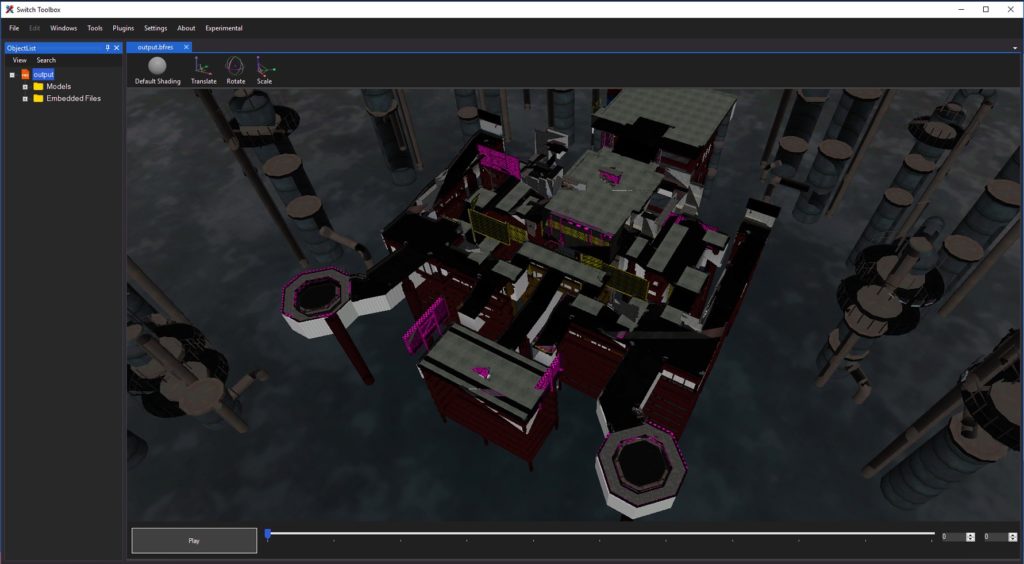
Late last month, KillzXGaming released a beta version of their Switch Toolbox. I then experimented with the toolbox, making a testing version of Urchin Underpass.
I already had experience with converting Splatoon 2 models to Splatoon 1, and the process from Splatoon 1 to Splatoon 2 is very similar. In 3D modelling, each group of polygons is assigned a “material”. Each material designates which textures should be used, which shader, and various flags about the group of polygons. One such flag says whether the material is inkable or not. In my testing version, I used a non-inkable material to see if the model import even worked. Once I confirmed that the import worked, I began to import inkable materials for surfaces that should be inkable.
In terms of collision data, I was lucky that the Splatoon 2 development team did not change the collision format. Collision is stored in “KCL” files, which also contain flags for things like if a material is a grate/fence, is inkable, is a death barrier, is water, etc. These KCL files were stored in big endian on the Wii U, but the Switch expects a little endian KCL. I used Wexos’ Toolbox, a Wii U tool, to import the big endian KCL and export it as little endian.
After some work, I then had an inkable version of Urchin Underpass.
After this, I also imported textures from the Wii U model. Splatoon 2 introduced a huge upgrade to the rendering system. Splatoon 1, like many Wii U games, uses a traditional rendering model. Each material has its own “albedo”, “normal”, and “specular” textures. In Splatoon 2, they transitioned to physically based rendering (PBR), which allows for a more ‘realistic’ rendering style. The PBR style that Splatoon 2 expects consists of “albedo”, “normal”, “roughness”, and “metallic” textures. I won’t go too much into PBR here, so consult Google for more details if you’re interested. I had to do some work with the textures to get them into the format that the Switch expects. While I could use the albedo and normal textures directly, I had to convert the specular textures into roughness. I constructed an automated toolkit to automatically invert the specular texture to create a roughness texture. For the metallic texture, I could just ignore it by using a placeholder texture.
I imported the background (referred to internally as the “distant view”) model. I also imported materials that allowed for transparancy. A Miiverse material was also imported so that Miiverse posts on walls would appear. Once I finished this, I had a working version of Urchin Underpass.
Once I confirmed that custom maps were possible through my testing version of Urchin Underpass, I began work on a program that would automatically convert Splatoon 1 models to Splatoon 2, which I called “TimeShift”. TimeShift is a ~1000 line program which uses Ray Koopa’s library for interacting with Wii U BFRES files along with KillzXGaming’s modified version to work with Switch BFRES. This program allows me to create a working version of each Splatoon 1 map in around 30 minutes, since it automates most of the process. However, I would need to manually convert textures, which takes up most of the 30 minutes. Once I had this basic version, I could then fine tune the map to fix some errors in the conversion process.
What about the map objects?
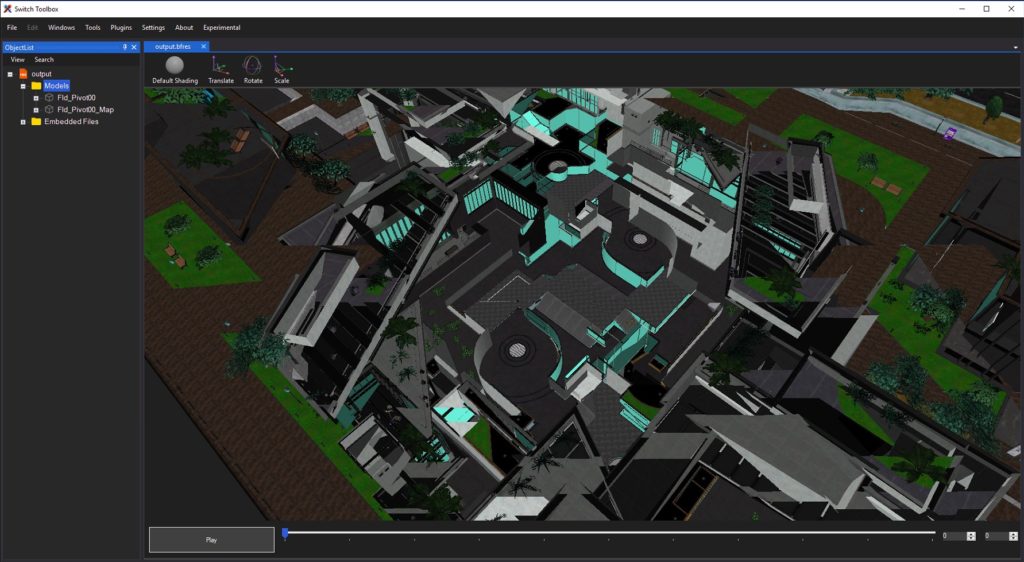
In the beginning of Splatoon 2’s development, Nintendo converted each Splatoon 1 map into the Splatoon 2 format for testing purposes. While the map models were not included in the final release, Nintendo accidentally included some files in the final release of Splatoon 2. They included some map object models, and the Splatoon 2 map layout file for each old map. I was able to use these layout files and the map object models along with my converted model. This resulted in a near perfect recreation of each map.
Conclusion
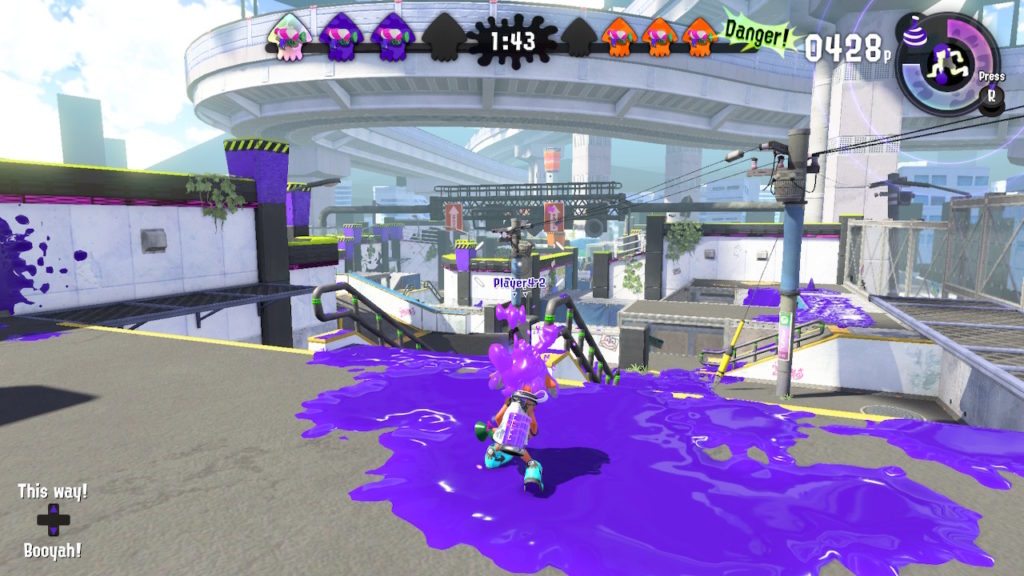
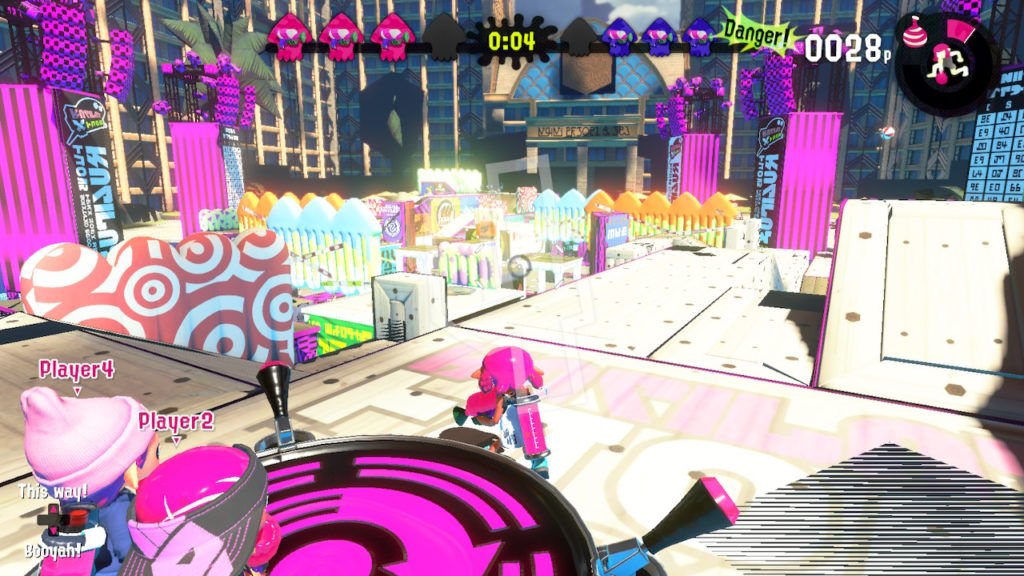
Once I had everything working, I ran a poll on my Twitter for which Splatoon 1 map people would like to see the most. Secretly, I would use these results to determine which map I would convert. Flounder Heights was the top choice, which I actually used as a testing map for TimeShift. I had already converted the map, so I didn’t have to do any work! I then proceeded to work on the remaining maps.
While it is sad that Nintendo did not re-release the Splatoon 1 maps in a Splatoon 2 update, I am still glad I am able to bring them to Splatoon 2 unofficially. I hope to release my model conversions, though I have no timeframe for release. Please stay tuned!
Credits
- KillzXGaming
- Ray Koopa
- Wexos
- 0xRed
- Simonx22 ❤️